First Off remove headlight (Part 1)
Video curtsey of BigE
If the video isn't enough, here's the explanation
Video curtsey of BigE
If the video isn't enough, here's the explanation
ok so i've looked around the forum looking for complete details on how to install an HID kit. Haven't found anything for people like me who suck when it comes to electronics. So with help from my pops, i'd figure i'd give a complete write up with pics. All pics are in order.....
1. remove the 2 bolts on top of the housing. remove the housing. its a pain and you'll need to muscle it out, just becareful not to break anything. It took me about 10 mins just to pop out the one on the driver side. the passenger side was a little easier.
2. remove the harness. just push the tab down and it pops right out.
3. this is the dirt cover everyone is talking about. it just screws right off.
4. the old bulb!! not really plugged in, just twist it counterclockwise.
5. this is the bulb removed
this is the dismantal part. install will be part2
Thats part 2 from (K)(I)(A)part2
this is the install part, pay attention, it gets tricky!!
6. this is the new HID bulb. as i found out the hard way, that plastic cup over it is just protective cover! lol
7. unscrew the cup, and slide the bottom part off. just snake it thru the rubber grommet and it comes off. notice the red rubber piece and plastic ring under that. remove the red rubber piece and take the plastic ring off. DO NOT TOUCH THE BULB!!!
8. the bulb with out the rubber grommit and the plastic ring.
9. put the red rubber ring back on. notice how it goes on. there should be a groove on the socket. it should fit right in there. its important that it goes in that groove or it wont fit right in the housing.
10. dust cover... i dont have the exact drill bit size handy, but i believe it was a little smaller than an inch. the black rubber grommit that wires go thru fit in here.if fits in the groove so its water tight.
11. this is the annoying part. install the light like you would any other light. just match up the slots, and give it a twist. if you're having trouble matching the slots, turn the housing around, and look thru the lense!!! now for the red and black wires. you should have 2 wires with metal connectors. these connect into the slots where the old light slide out of. on mine, the black one goes in the slot closest to the lense. i used needle nose pliers to get it in. the red wire goes in the slot closest to you.
12. thats pretty much it! slide the dust cover over the wires and screw it in. now find a spot in the engine compartment to mount the ballists. i found a screw hole right on part of the frame right under the housing that fit perfectly. plug the ballsits in, put back the headlight housings, plug em in, and screw the housing back in, and thats it! its not to hard, if you have no clue what youre doing i hope this helps! any questions feel free to ask!
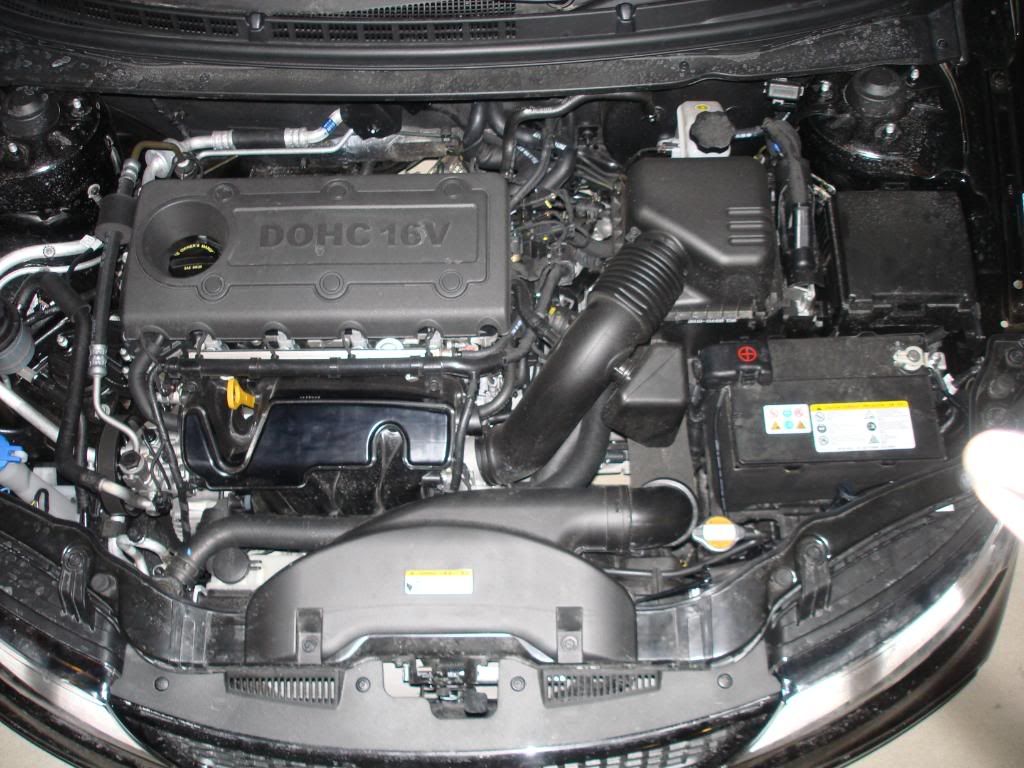
This is a Forte specific add-on to DDM's install guides found here... DDM HID Install PDFs
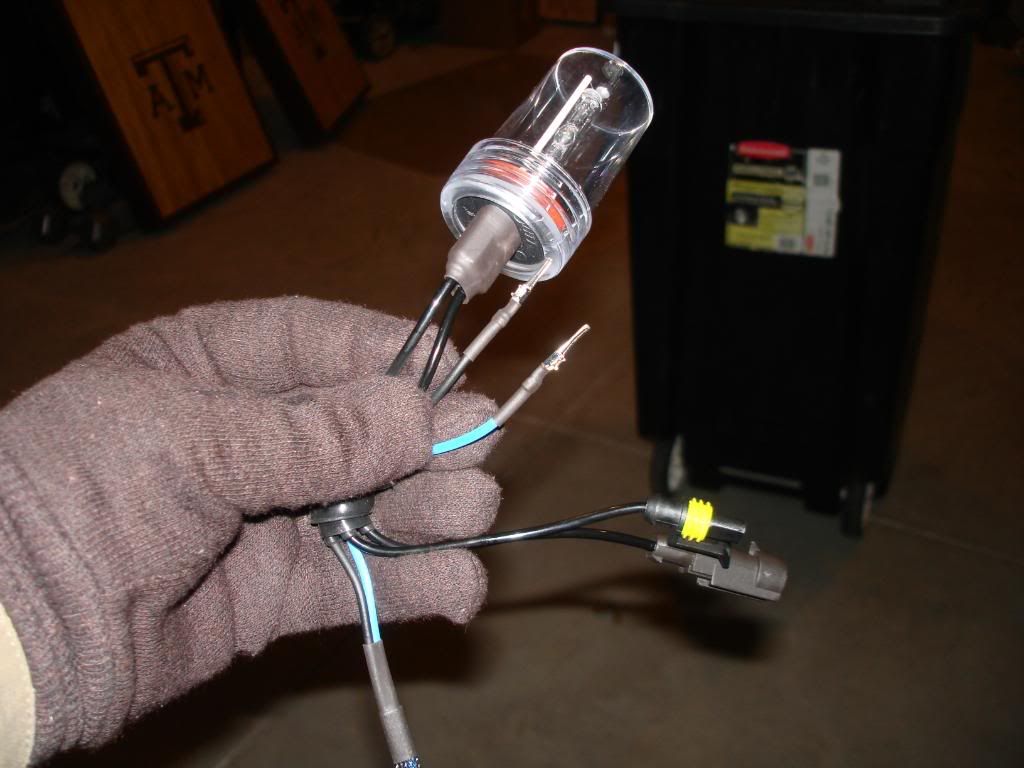
The stock bulb is an H11B, the HID kit is an H11. The fit to the housing is identical, the wire connections are different. The H11B is called a "snap-n-lite" bulb. When you twist the bulb into the housing, the connections "snap" into the wiring making the connection. The H11 HID kit has wires that plug into the factory "snap" connector...if that makes sense.
Here's the H11B bulb.
![]()
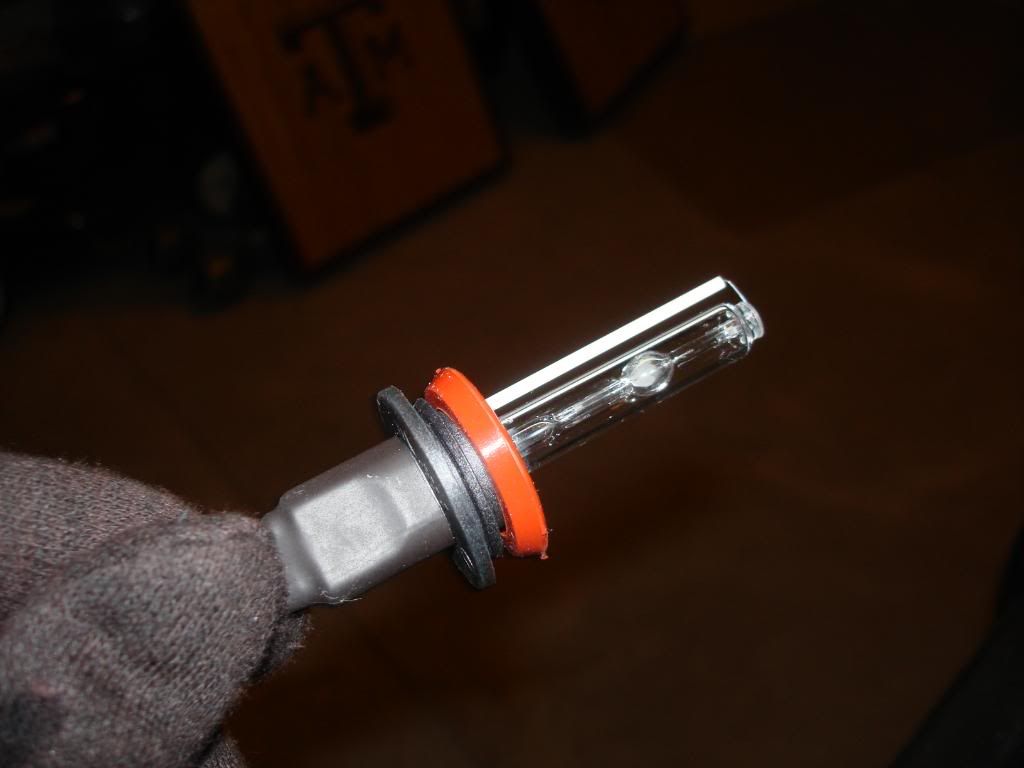
Here's the H11 HID bulb (with protective plastic housing around bulb).
![]()
Here's the HID bulb without protective housing.
![]()
Here's what I ordered.
DDMHPH11-5000K DDM HID Kit Slim Ballast (35W or 55W)
Options: Wattage : 55 Watt (+$10.00) Bulb Type : H11 Bulb Color : 5000K $59.95
370-HID-8133-5486523658-HID Kit Wiring Harness $15.00
Subtotal Amount : $74.95
Discount : $0.00
Shipping (UPS - Ground) : $14.44
Tax Amount : $0.00
Total Amount : $89.39
If you use the install instructions posted in the DDM link above, the only differences are as follows...
Remove the headlight using 10mm wrench or socket to remove the two bolts on top of the light. Gently pull the light out of its guide slots...be careful to not scratch your paint while pulling the light out. It's a tight fit!
You have to drill a 1" hole in the center of the dust cover to allow the wires to pass through.
Hole saw
![]()
Hole drilled in dust cover
![]()
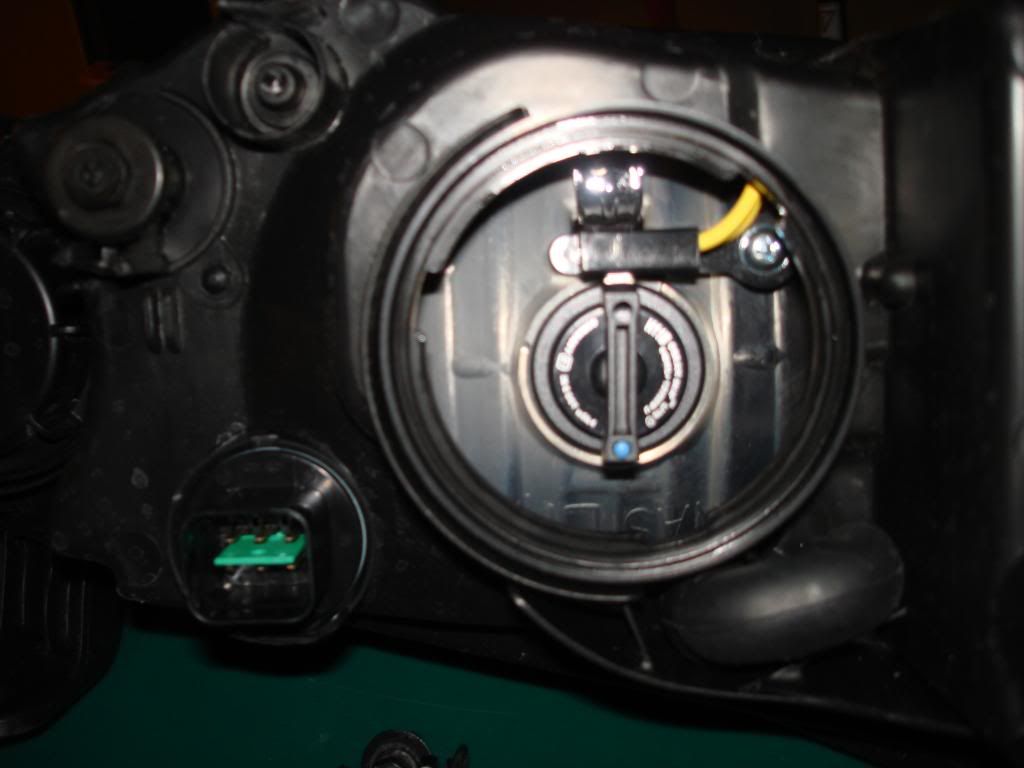
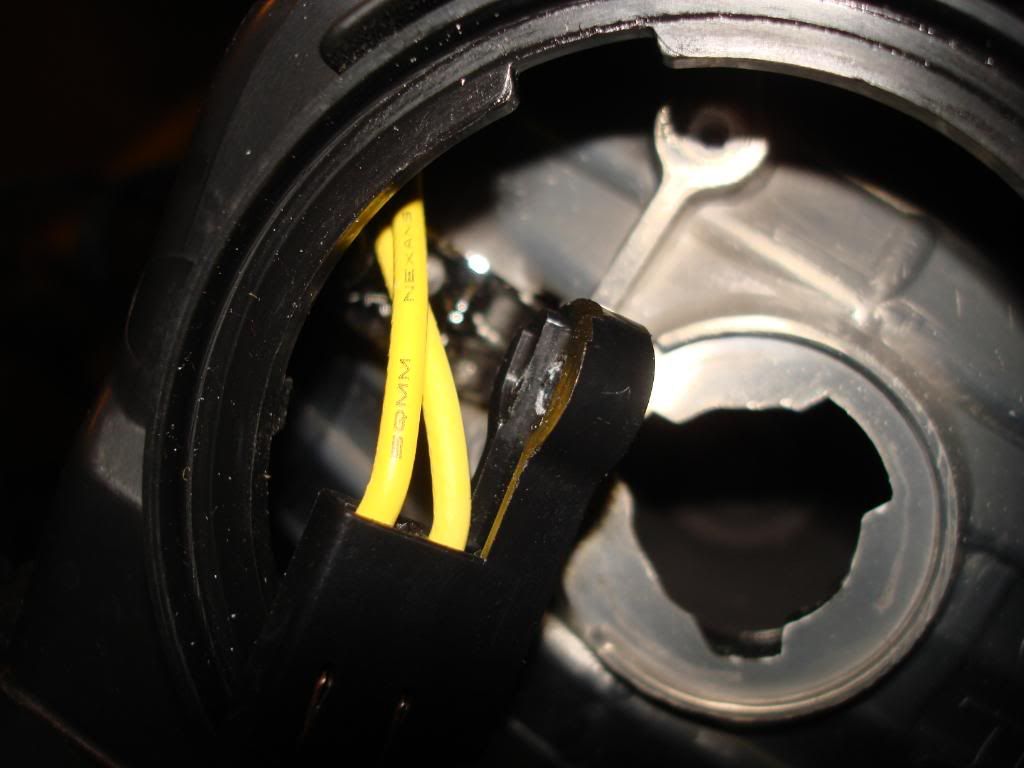
Remove the screw securing the factory wiring connector connector inside light housing.
![]()
![]()
Slip blue and black wire connections into the factory connector, blue wire went on the bottom and the black wire went on the top. This will make sense after have the light apart. (not shown, but I used heat shrink tubing to secure the wire in the connector)
[hr]![]()
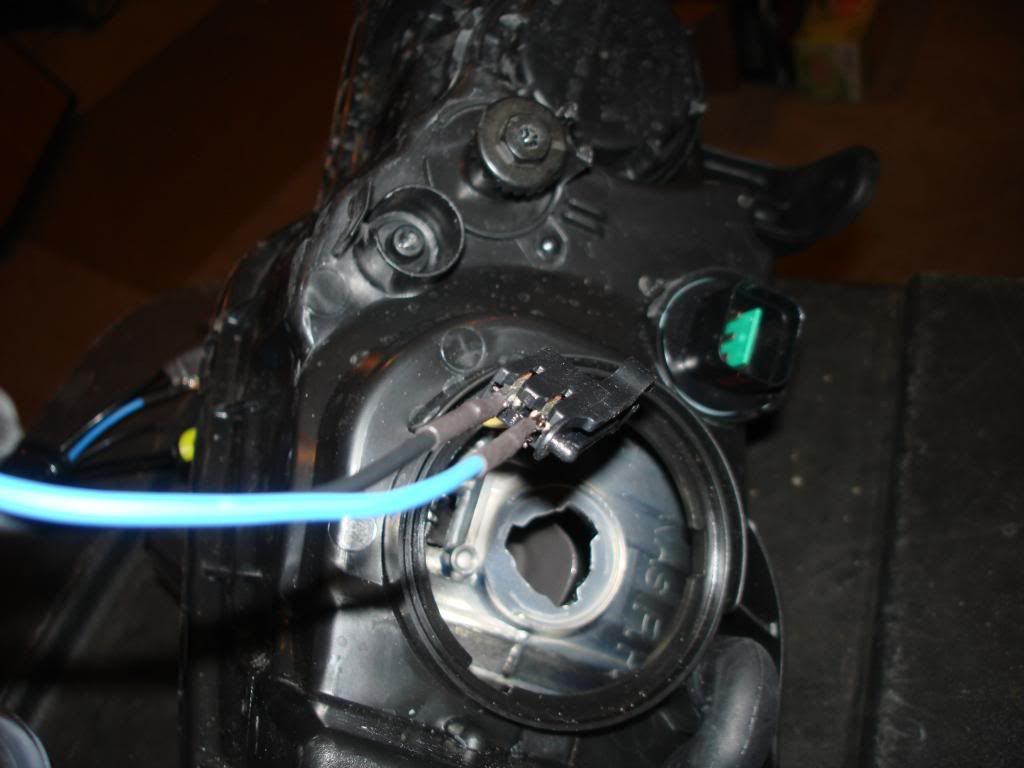
Mount the bulb in the housing, pass wires through dust cover and secure dust cover.
![]()
![]()
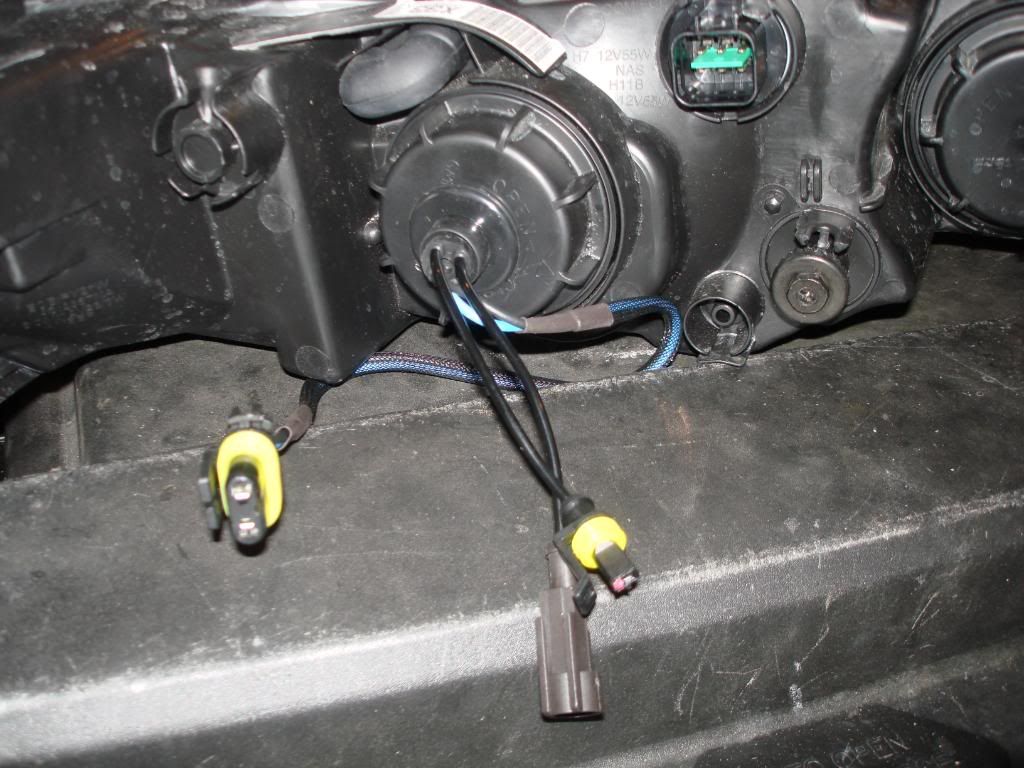
Connect wires to ballasts
![]()
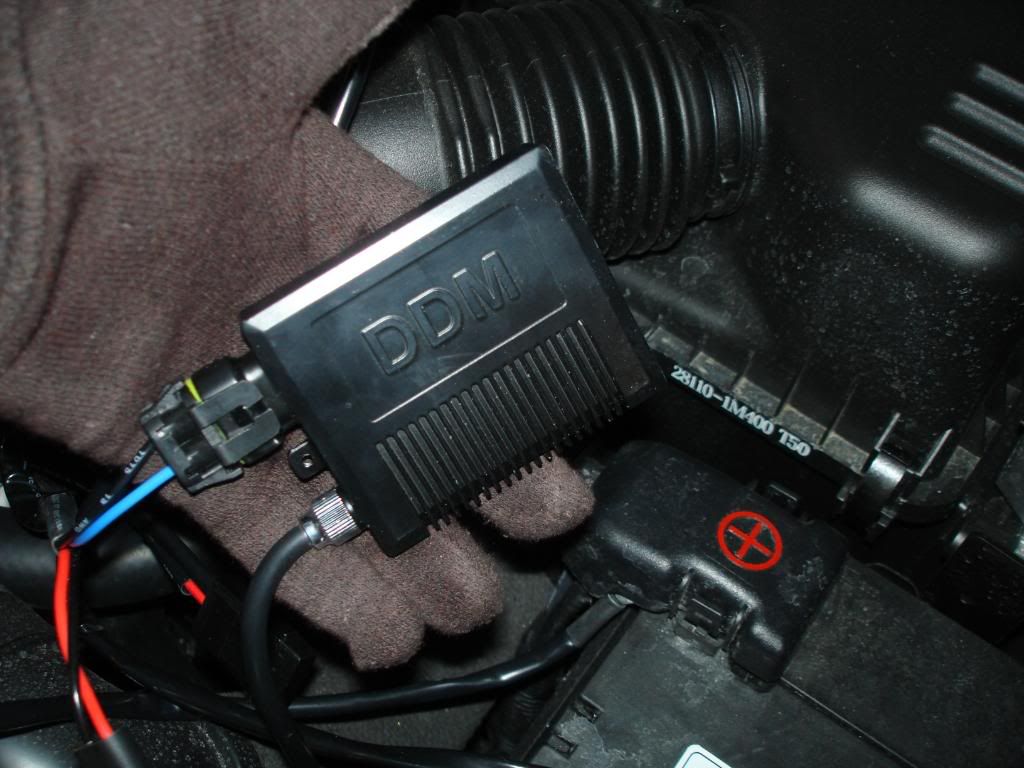
Install the wiring harness per instructions...if you go this route. Test everything before putting it all back together. Don't forget to plug factory connector back in on the back of the light housing and to turn your key to the run postion...otherwise your lights will not get power.
Finished install with wiring harness hidden.
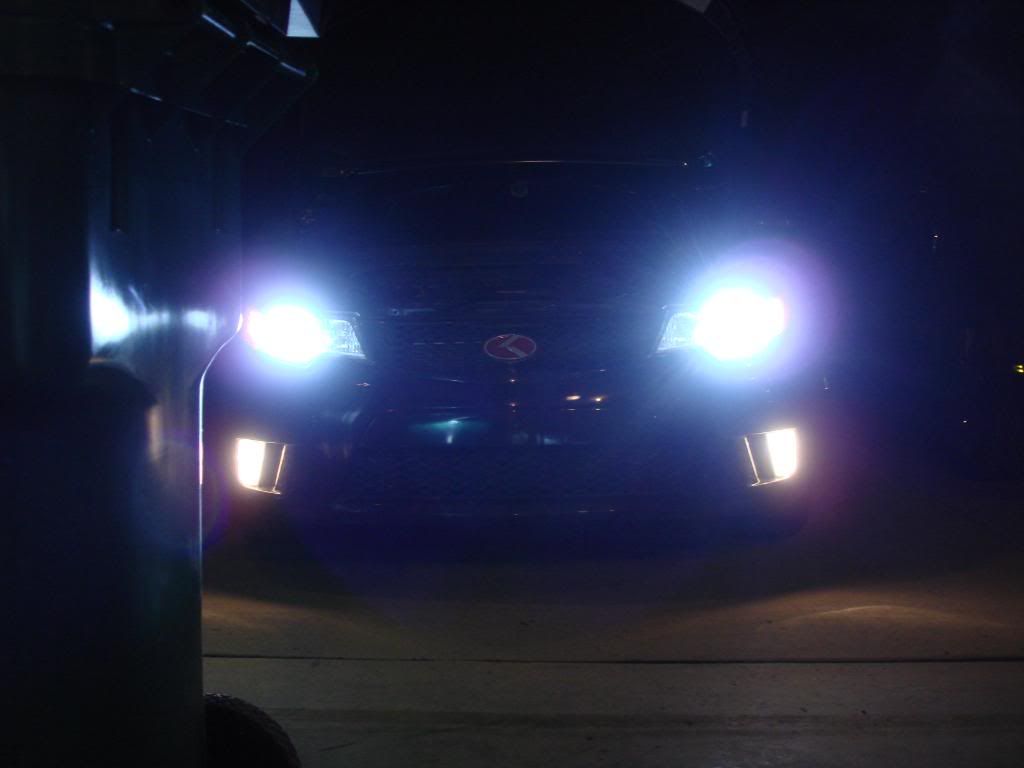
![]()
![]()
Overall look
![]()
I had to lower the passenger side adjustment to get the beam patterns level. Overall, easy install. Hiding the wiring took the longest, but that's because I'm anal about stuff like that. The lights come on with no flickering and are fully warm (full brightness) in just a few seconds.
Does it affect my warranty?
If for some reason you fry your electrics, KIA has to prove 100% without doubt it was caused by the HID kit. otherwise they have to fix it under warranty. To avoid this possible issue you should buy the wiring harness.
QUOTE]
Reality check: Kia is NOT going to waste their time, money and effort to prove 100% anything; why should they? Like the IRS, they will leave the burden of proof upon you. I have said this before time and time again; it is difficult enough to get legitimate claims covered under warranty, aftermarket mods makes it ever harder.